How to Install Windows 11 Without a Microsoft Account
Published: Sep 25, 2023 05:38 AM
One of the newer nuances with installing modern versions of Windows 11 is that it requires you to use a Microsoft account in order to setup the operating system. Fortunately, Microsoft does have a workaround to be able to install Windows 11 without a Microsoft account within the Windows out-of-box-experience (OOBE) setup.
When you go to setup your device for the first time, Windows takes you through several steps to setup and configure your device. At one point during this process, Microsoft checks to see if your device is connected to the internet to provide you with the latest system updates, but also to get you connected with your computer using a Microsoft account (which is Microsoft's preferred method of logging into your device).
But for those of us who would rather create a local account without any ties to Microsoft's cloud-enabled login, this process is frustrating. But, the good news is that Microsoft does provide a somewhat hidden path to disabling this behavior on your Windows 11 setup, so let's dive in!
Step-by-step instructions:
Pre-requisites: A USB thumb drive with the Windows 11 operating system on it.  If you need instructions on creating Windows 11 bootable media, check this out first!

Unplug any ethernet cables plugged into your computer.  We don't want it talking to Microsoft over the internet!
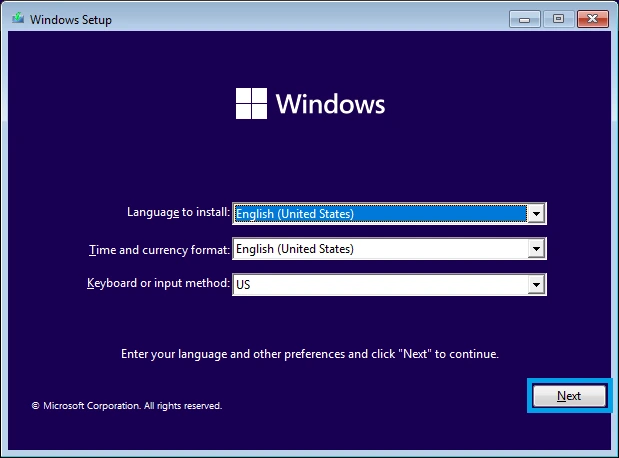
1. Boot into the USB thumb drive containing the Windows 11 operating system setup on it. At the first screen you will be prompted to select your language, time format, and keyboard settings. Select the appropriate options for you, and hit Next.
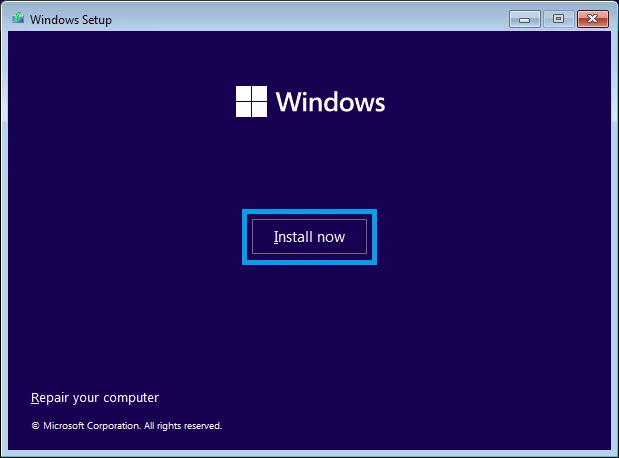
2. At the next screen, hit Install Now.
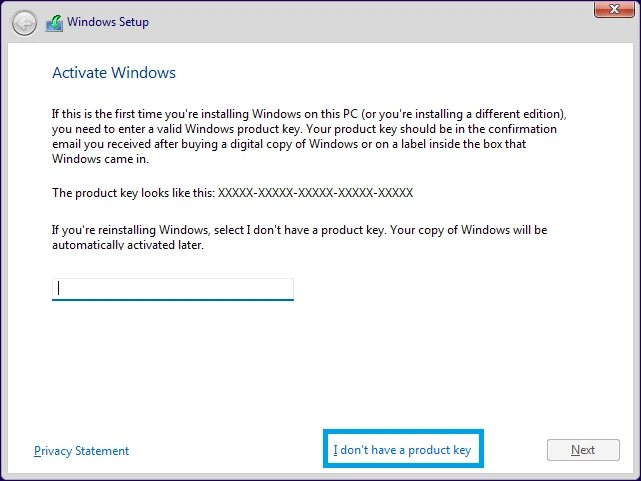
3. This should popup a new window asking you to Activate Windows. If you have a product key, you can enter it here, then click Next - OR - if your machine does not require it, you can click on I don't have a product key and Windows will attempt to automatically activate once it is installed on your computer.
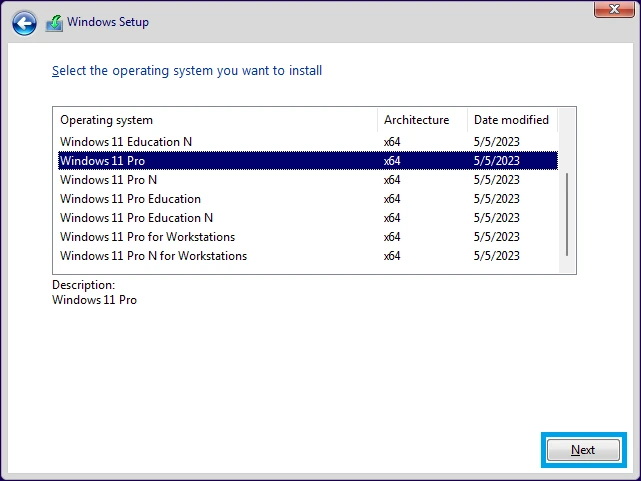
4. Select the edition of Windows you would like to install on your machine, then hit Next.
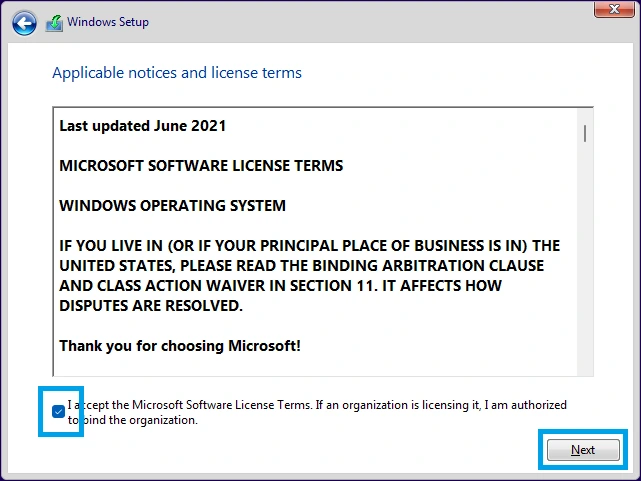
5. The license terms will display on the screen, and you must check the box to accept the Microsoft Software License Terms and hit Next.
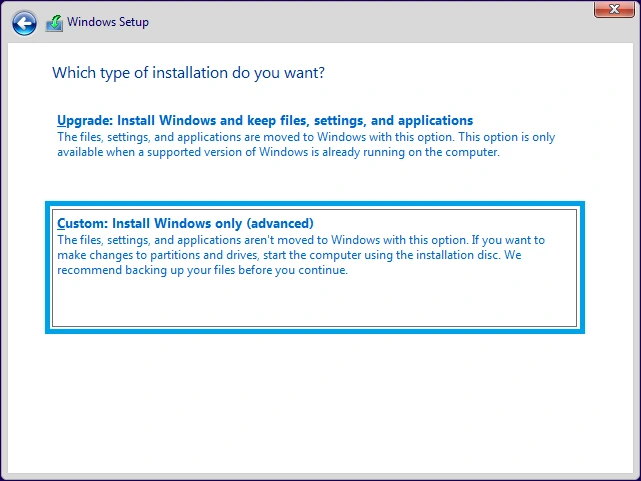
6. The next screen will ask you which type of installation you would like to perform. For most wipe-and-reload scenarios (and for the purposes of this walkthrough), we will click on Custom: Install Windows only (advanced). If you were upgrading from a previous version of Windows such as Windows 10, you may choose the top option to upgrade your current machine.
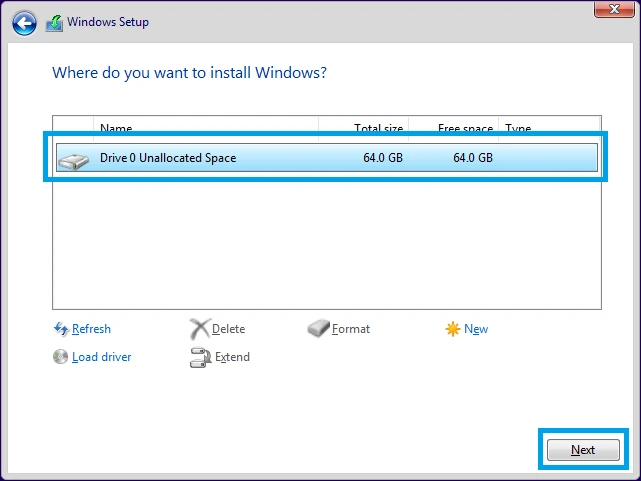
7. Setup will then ask you where you want to install Windows. On a completely fresh install, I personally like to delete all of the partitions so everything is set to Unallocated Space, then just ensure Drive 0 Unallocated Space is selected and hit Next. You may want to partition your drives differently during setup, and that is up to you, but for this demo, I am keeping things simple and using 1 partition only.
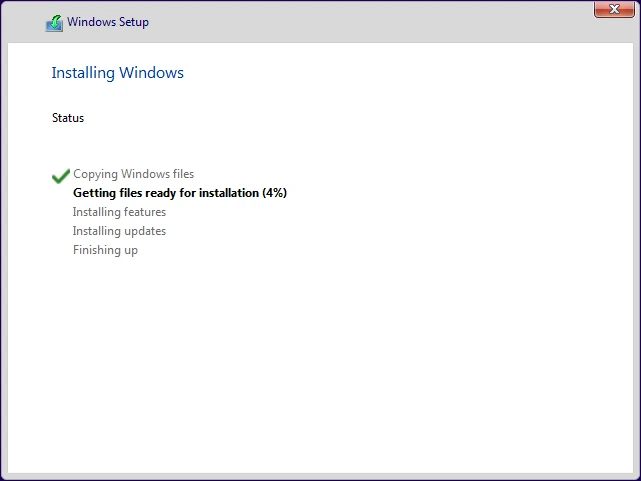
8. After you hit Next in Step 7, Windows will install itself onto the partition you've selected. This could take a few minutes depending on the hardware specifications in your machine. Once this finishes, the computer will automatically restart itself.
9. After the computer restarts, you'll be presented with the out-of-box-experience (OOBE). On the first screen, you'll be asked to select the country or region. At this screen, press SHIFT + F10 to launch an Administrator command prompt. At the prompt we will type OOBE\BYPASSNRO and hit Enter as seen below:
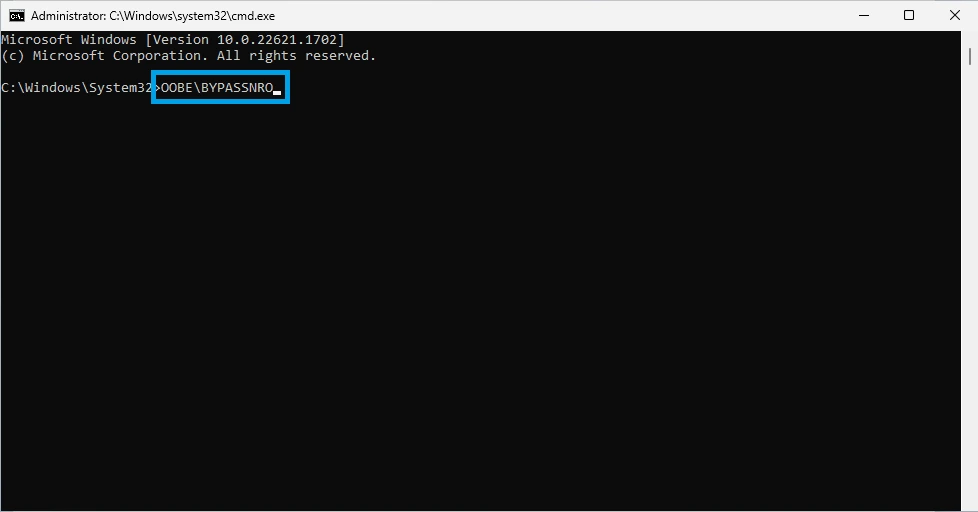
10. Once you hit Enter, the machine will restart and will now skip the requirement for network connectivity.
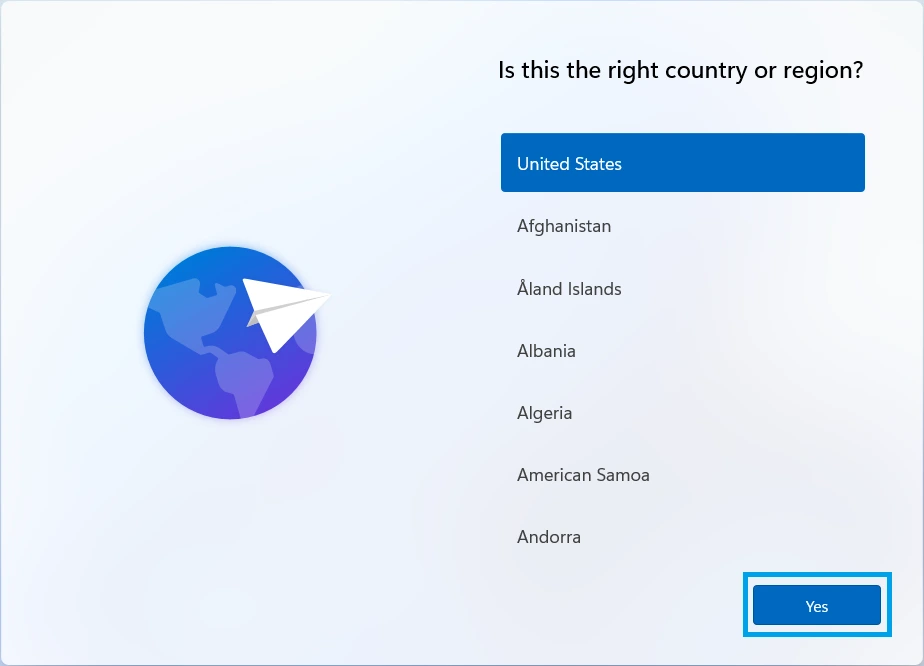
11. After the computer restarts, you'll be presented with the out-of-box-experience (OOBE) again. On the first screen, you'll be asked to select the country or region. This time, make your choice and choose Yes.
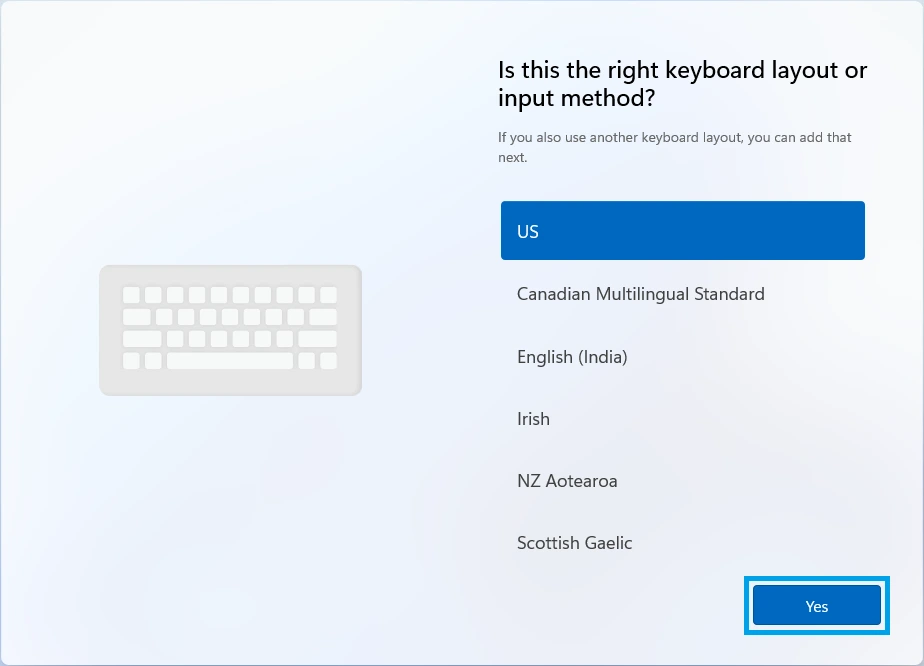
12. Choose the correct keyboard layout for your computer and click Yes. A subsequent follow-up question will be asked on whether you want to add a second keyboard layout. If you want to add a layout, click on Add layout, otherwise click Skip.
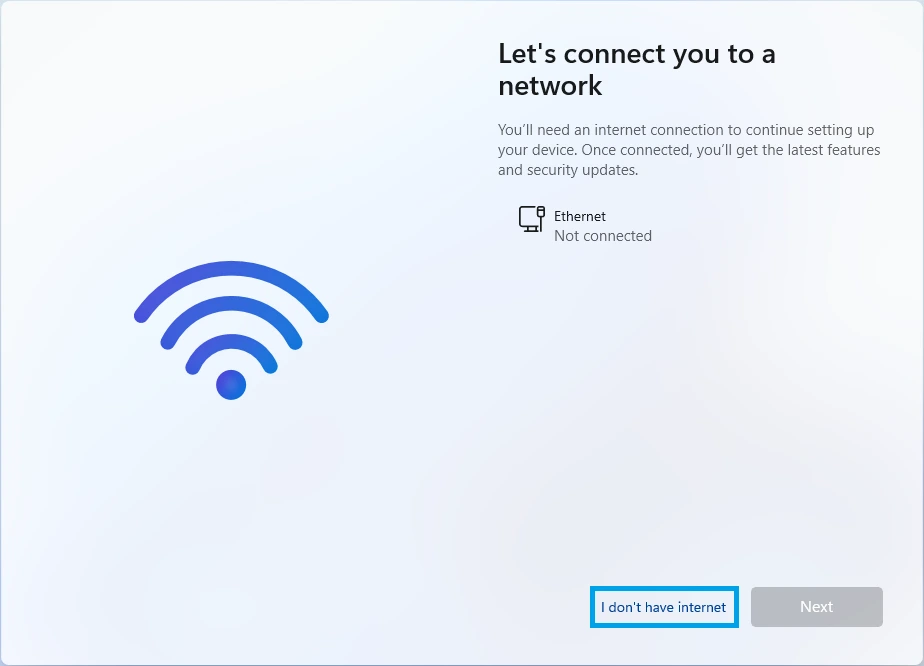
13. On the "Let's connect you to a network" screen, you should now have the ability to choose the I don't have internet option. Click on it to continue.
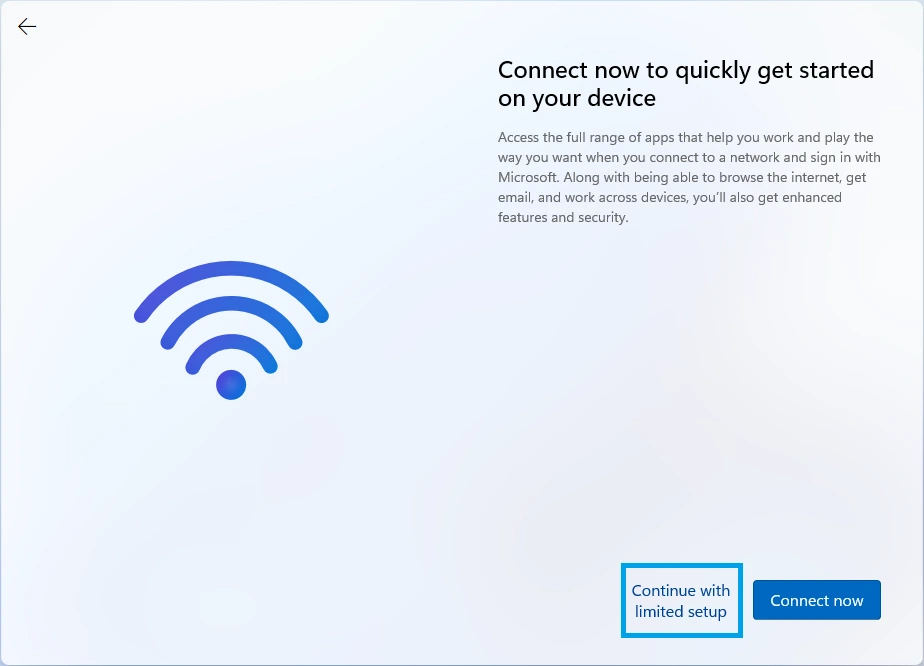
14. It will then present another screen wanting you to connect now, but here we will select Continue with limited setup.
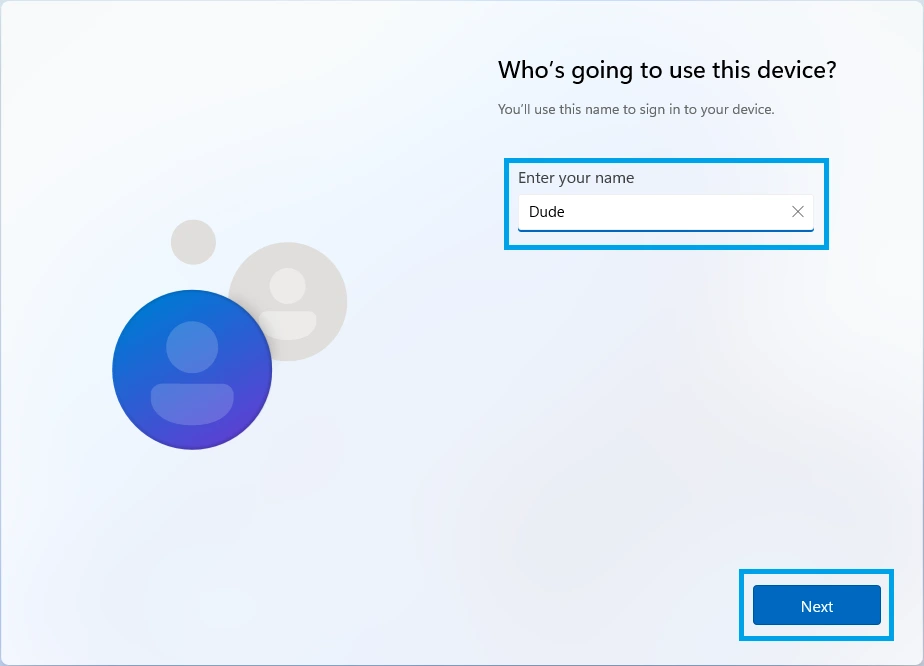
15. The next screen will ask you to enter your sign-in name you would like to use for this device. Type something into the box, and hit Next.
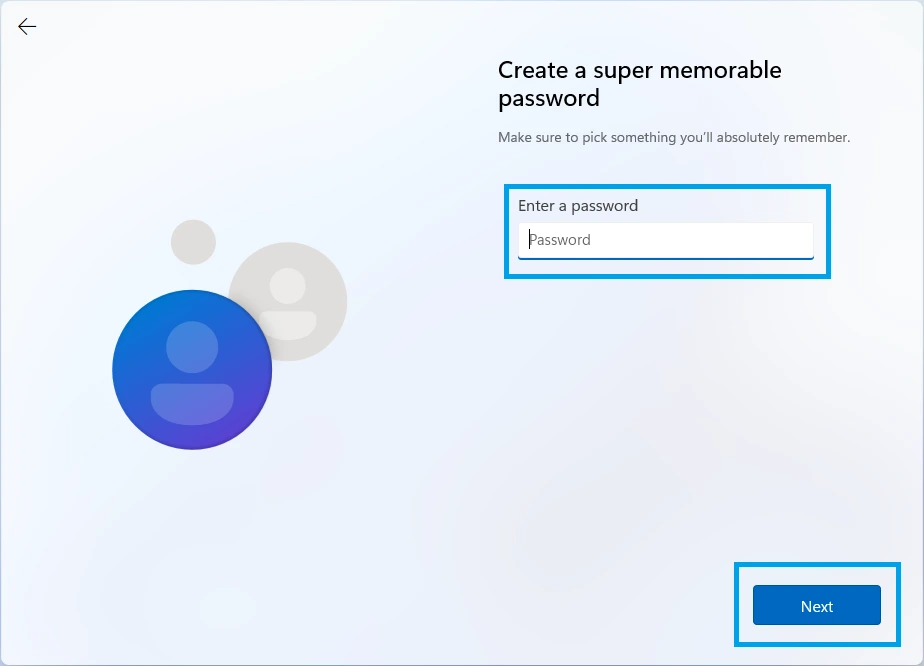
16. Then, enter a password you would like to use to sign into the account. You may optionally leave this blank if you do not want to use a password.
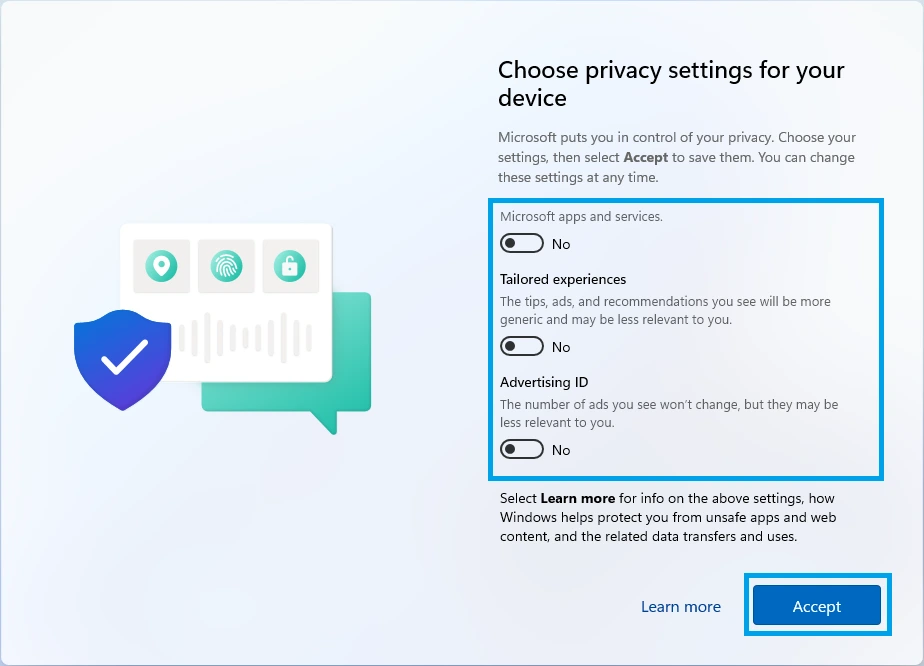
17. After this, you can select the privacy features you would like to enable or disable, then make sure you scroll to the bottom of the list and hit Accept.
18. You're done! Windows will finish installing/configuring and you now know how to install Windows 11 without using a Microsoft account.

