How to Create a Bootable USB for Windows 11
Published: Sep 24, 2023 08:08 PM
Last Modified: Sep 24, 2023 08:12 PM
If you've ever wanted to re-install or perform a clean install of Windows 11 on your device, then this simple step-by-step will show you how.
Before you begin:

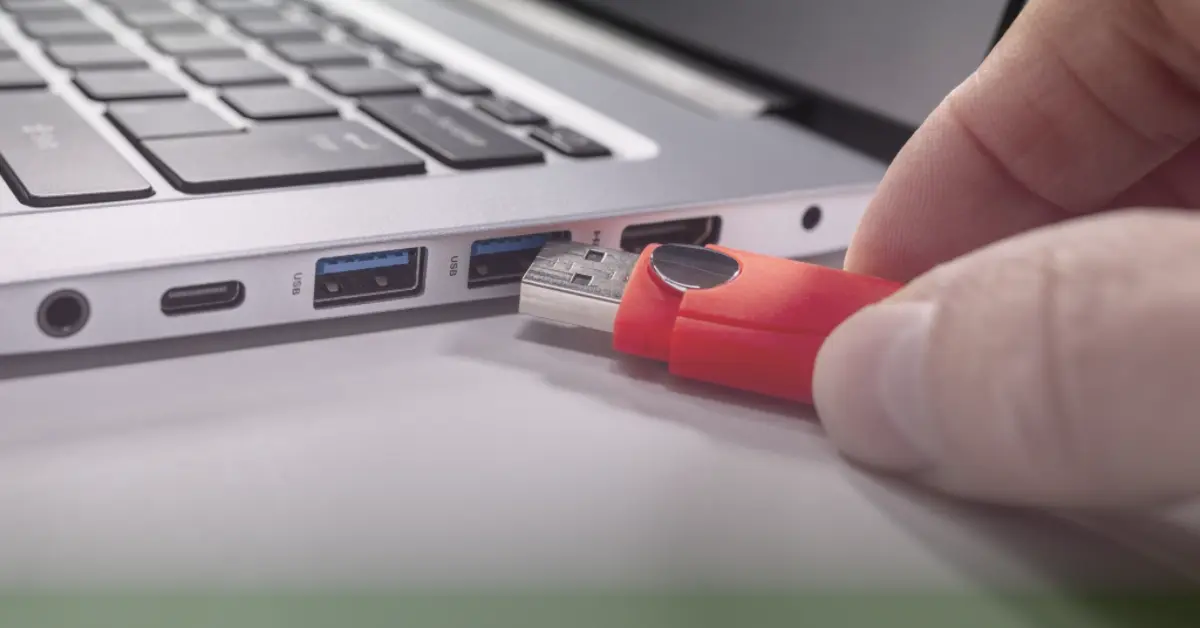
1. You will need a USB flash drive with at least 8GB of storage - please make sure that any data on this USB flash drive is backed up and stored in another safe location (this process will wipe the contents of the USB flash drive).

2. You need a compatible computer on which to install Windows 11.  To check if your PC is compatible, you can check out and run this nifty PC Health Check tool from Microsoft.
Step-by-step instructions:
1. Download the latest version of Microsoft's Media Creation Tool.
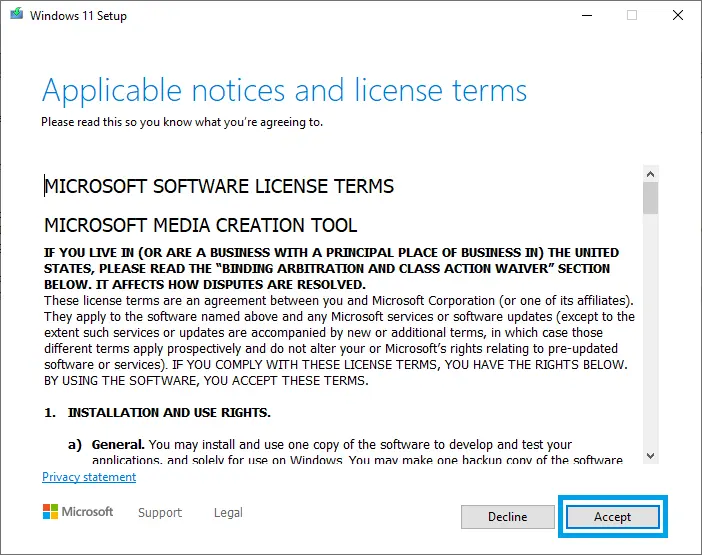
2. Once the tool is downloaded, open up the mediacreationtool.exe program and you will be presented with Microsoft's software license agreement. Hit Accept.
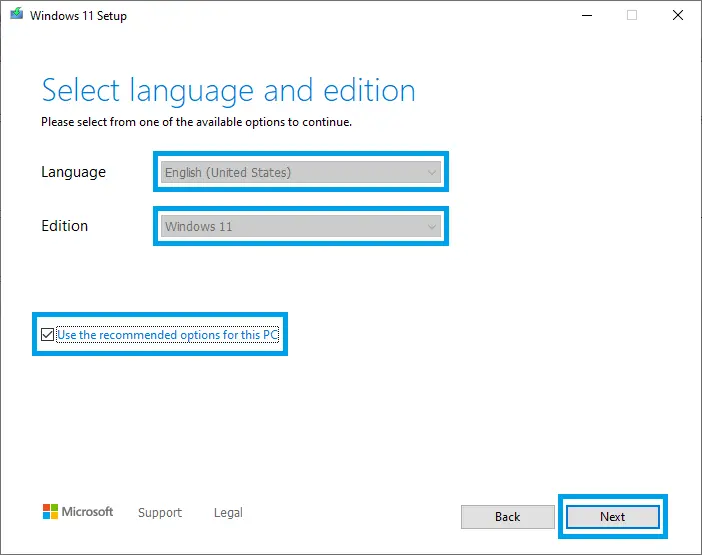
3. On the next screen you will be presented with language and edition options. Depending on the language and specifications of the PC you're running this tool on, you may not be able to change the default selections (they will be greyed out) until you uncheck the box which says Use the recommended options for this PC. If you do plan on using this bootable USB on the same PC to perform an upgrade, please ensure your language is set to the same language as your current operating system. Once your options are set, click on Next.
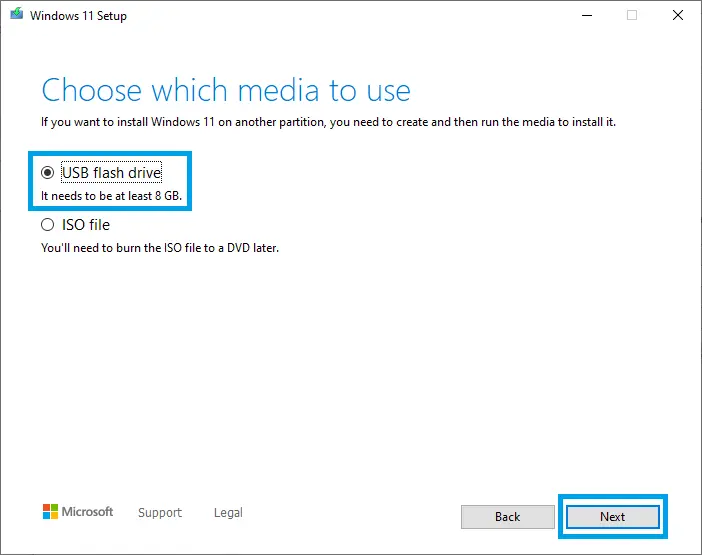
4. When prompted to choose which media to use, we are going to select USB flash drive and hit Next. If you wanted to download an *.ISO copy of the installers to burn on a DVD, you could choose the ISO file option here, but for this demo we are looking at USB creation.
5. Plug in your USB drive into the computer.
IMPORTANT: Ensure that there is no data that you need off of this USB flash drive before continuing - THIS WILL ERASE THE USB DRIVE AND ALL DATA ON IT!
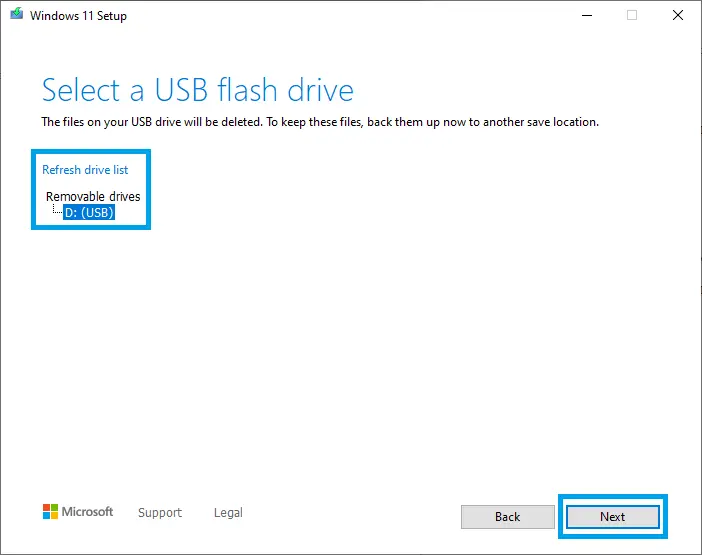
6. Click on Refresh drive list so that your USB flash drive shows up and is selectable from the list. Make sure to select the correct drive, and hit Next.
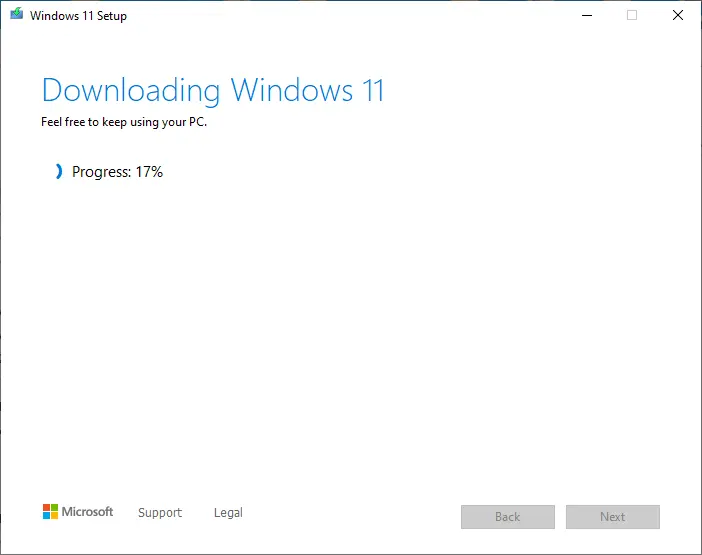
7. The tool will start downloading the Windows 11 installation files. This could take several minutes to complete depending on your connection speed.
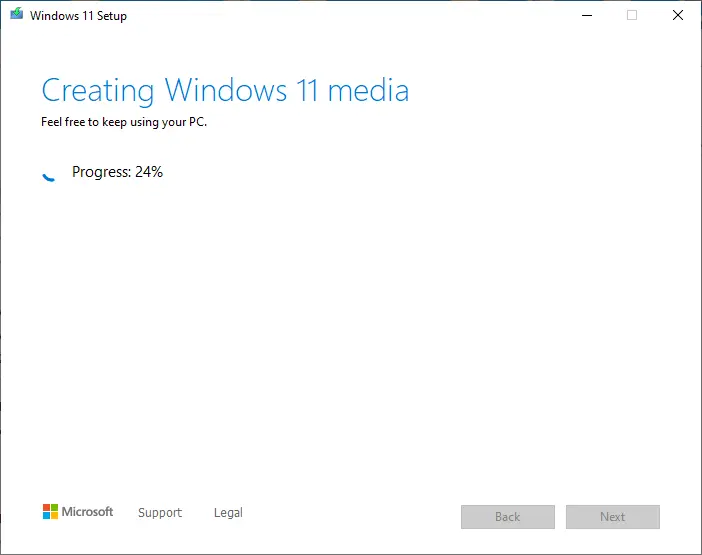
8. Once the installation files are finished downloading, the screen will change indicating that the Windows 11 media (your USB flash drive) is being provisioned and created.
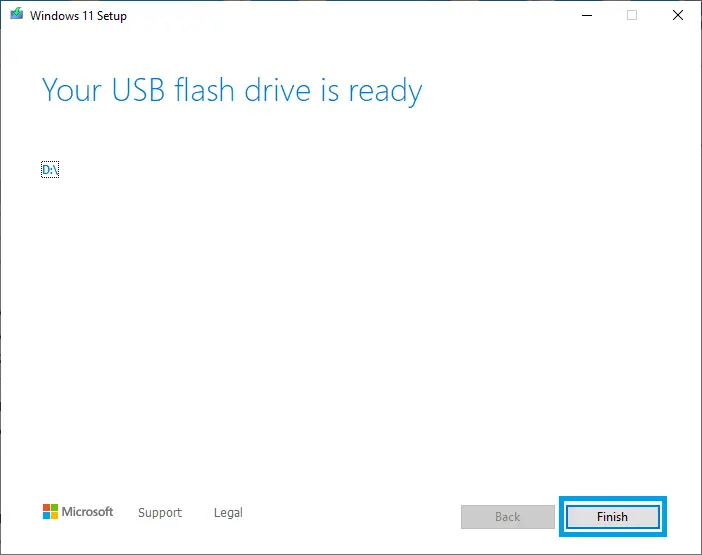
9. After this completes, the window will inform you that your USB flash drive is ready for use. You can click on Finish to close the Media Creation Tool.
10. Now you have a working Windows 11 USB with which to install Windows 11! Now you just need to boot to the USB on your computer and run the installation.

